Showing posts with label canvas. Show all posts

Wednesday, February 22, 2012

Melted Crayon Art

I am addicted to StumbleUpon and Pinterest and if you are as well you will understand why I had to make this next project.  It's EVERYWHERE! I kept seeing so many different versions of this project on different sites I just had to make one.  Here is the How-To...  I may be adding to it later in a Part Two post if I get motivated. I have another idea!...


SUPPLIES:

  • A Box of Crayons
  • A Hair Dryer
  • A Canvas
  • A Hot Glue Gun
  • Glue Sticks
  • A Ruler


DIRECTIONS:

1) Choose the colors you would like to use for the project and arrange them as you would like.  I chose a standard rainbow arrangement because I think its pretty. 

2) Take the crayons you chose and arrange them along the top of your canvas in the pattern or order you would like.  Like this... (I used a ruler to make sure they were straight.)
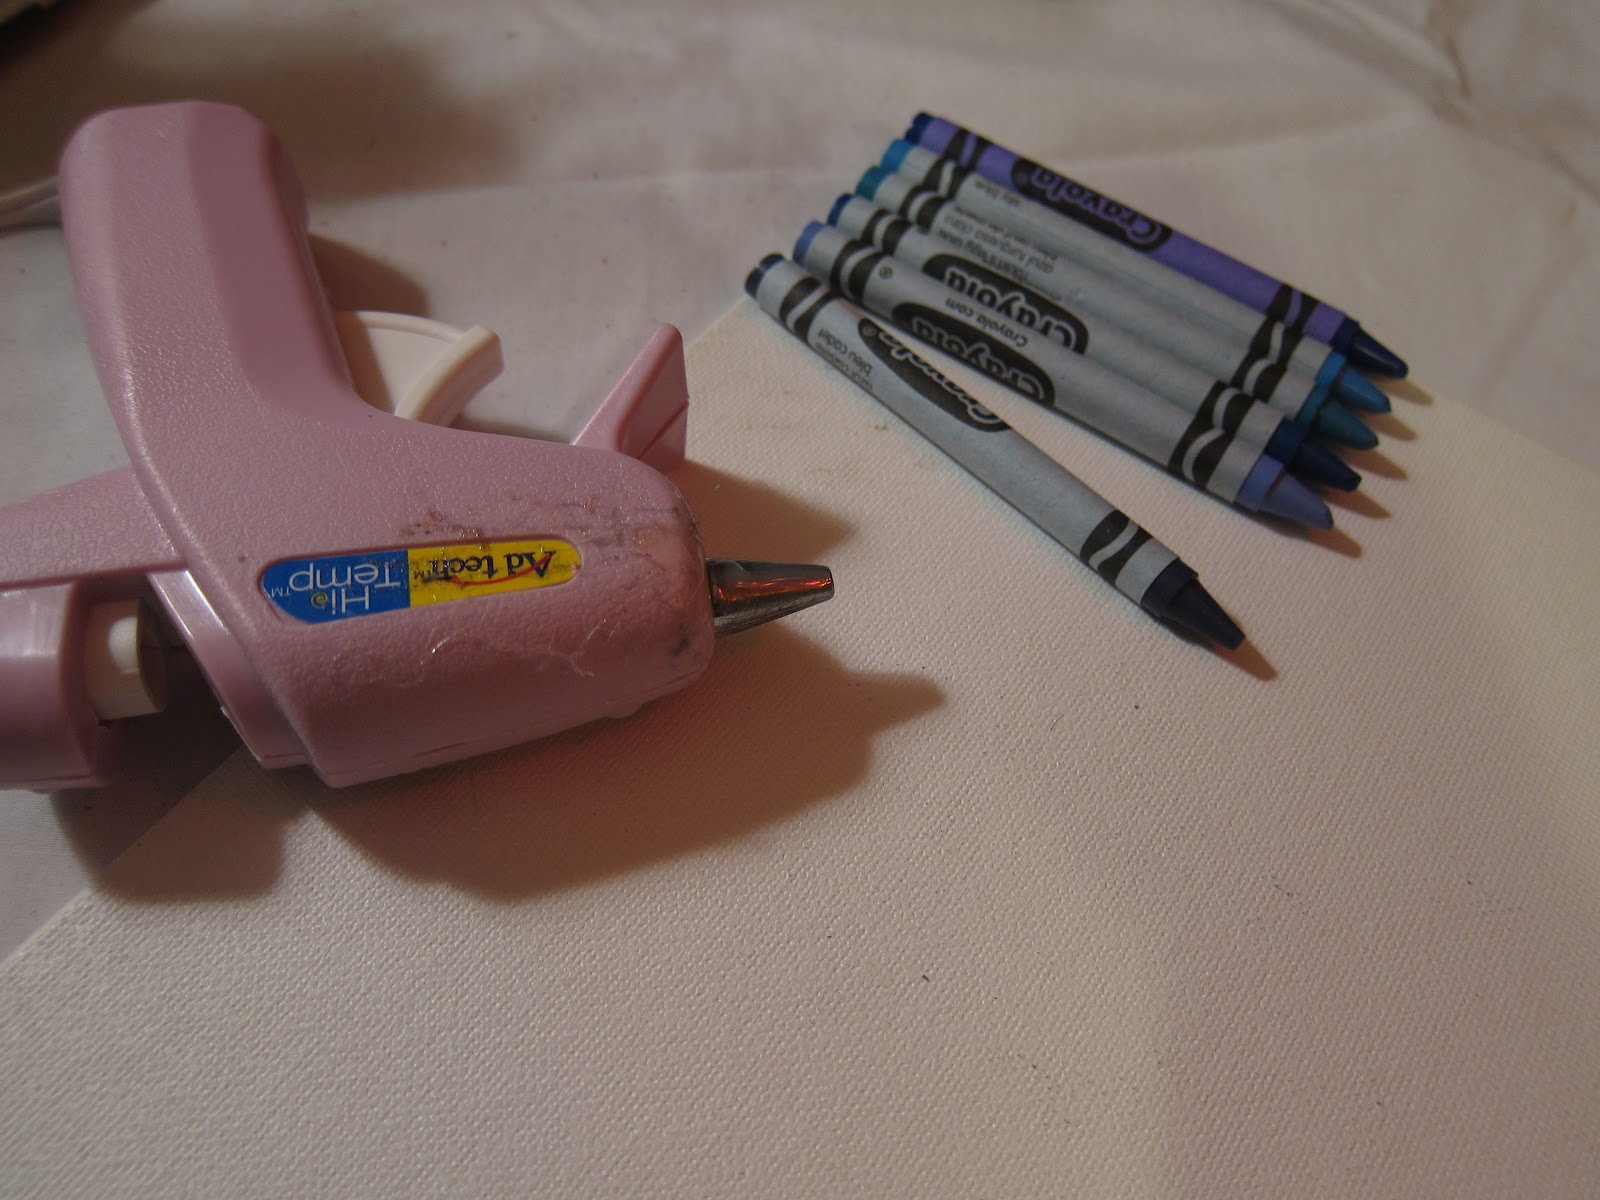
3) Now glue each individual crayon down onto the canvas with your glue gun.

4) This is the fun part! Plug in your hair dryer (I would not recommend using the one you use daily unless you don't mind cleaning it off after the project, the melted crayons splatter!) Ok, hold the hair dryer about an inch from the top left end of the crayon in the corner.  You have to hold it here for awhile until the crayon starts to melt and run, then you can use your hair dryer to push the melted wax wherever you'd like it to be on the canvas.  You can melt all of them as much or as little as you like,  I melted mine alot because it was so fun! 

5) Let it dry, you're done!

Here are some other ideas from Crayola for melted crayon projects!...


Oh, and here is how mine turned out...


I really like it! It's colorful and fun and I have it hanging in my craft room :)

Are you going to make one? What color scheme are you going to use? You could even put it upside down! What do you think?


Thursday, February 16, 2012

Silhouette ‘Birds in a Tree’ Wall Art Part 2

So earlier this week we covered Part One of the Silhouette ‘Birds in a Tree’ Wall Art project. Now I am going to cover Part Two!

SUPPLIES:
  • 2 Canvases
  • A Pencil
  • A Paint Brush
  • A Bottle of Black Acrylic Paint
  • Pictures of Birds
  • X-Acto Knife

DIRECTIONS:

1) Find photos of birds sitting in a tree. You can find the photos on the internet and print them out or do what I did which was buy a bird book (Half Price Books again) and cut the images out that way. The birds need to be the size and shape that you want on your canvas because these will be the stencil for the silhouettes on your tree branches. They also need to be photos of perched birds, not ones in flight. I found a few I liked in a book. Now, cut them out with the X-Acto Knife very carefully and along the outer edges of the whole bird and set them aside.

2) Take your canvas and free hand branches of a tree. Be sure to incorporate branches from one canvas to the next. Make it as compact or thin branch-wise that you'd like.

Here is what mine looked like...

3) Grab the cut out bird stencils you made and place as many as you want on any branch and trace them with your pencil.

4) Paint! Now it is time to fill in your outlines with solid black paint! Mine required two coats.


You're done!! Here is how mine turned out!...


I love it! and I have even had a few requests from friends to make them for their apartments or houses! Easy and fun! Hope you enjoyed the project too!

Did you use as many birds or tree limbs? What did/would you do different?

Silhouette ‘Birds in a Tree’ Wall Art Part 1

I wanted some new wall art for our living room so I decided to do some research to find some different ideas for inspiration.


I finally decided on a project that would spread over two medium sized canvases to create one large image. I love bird watching and parks so I decided that on the two canvases I would attempt to paint silhouettes of birds on branches. I also did not want a traditional white background so I used Mod Podge to create a funkier background with some pages from a book.


Here is a step by step for you! I'll start with a How-To on the funky canvas backgrounds for Part One and in a second post I will show the steps for the bird and branch silhouettes in Part Two.


SUPPLIES:  

  • 2 Plain Canvases
  • A Jar of Mod Podge (I chose Matte because I didn’t want my final project to be glossy but either would work!)
  • A book that you can cut up (I know, it made me uneasy too!)
  • An X-Acto Knife
  • A Rubber Roller
  • A Sponge Brush


DIRECTIONS:


1) Get a book to cut up. I went to Half Price Books (check out their website! you can find great coupons and great books for alot cheaper, just follow this link... Half Price Books). I found a neat one! It was an old 'Slang' dictionary and it had some really funny definitions in it. Now, cut out pages that you want to use along the inside spine of the book with the X-Acto Knife. These will become the background of your painting so try to pick ones full of text or with interesting information on them and make the cut as straight as possible.


2) Chose a layout for the pages, you want them to overlap and entirely cover the canvas. Lay it out first to decide what you feel looks best. *Make sure you wrap pages around each edges too so the sides of your canvases aren't blank.


3) Take your Mod Podge and the sponge and start to coat both sides of the pages and lay them on the canvas in the spot you designated. Mod Podge is basically glue so be careful! Once you place it, it isn't come up!


4) After placing each piece you are going to want to individually smooth them out. Sometimes, when laying a page, you will trap air bubbles that need to be released. After using the rubber roller (it is actually a Mod Podge product) and rolling it over each page, you shouldn't have a problem with the bubbles.


5) LET IT DRY! This may take awhile but you can't do anything until your piece is dry.


Once you're done your canvases should look similar to this...


Ta-da! Part one COMPLETE!


I was going to use a novel written in French for the background instead of the dictionary pages...What are your ideas?