I am addicted to StumbleUpon and Pinterest and if you are as well you will understand why I had to make this next project. It's EVERYWHERE! I kept seeing so many different versions of this project on different sites I just had to make one. Here is the How-To... I may be adding to it later in a Part Two post if I get motivated. I have another idea!...
SUPPLIES:

- A Box of Crayons
- A Hair Dryer
- A Canvas
- A Hot Glue Gun
- Glue Sticks
- A Ruler
DIRECTIONS:
2) Take the crayons you chose and arrange them along the top of your canvas in the pattern or order you would like. Like this... (I used a ruler to make sure they were straight.)
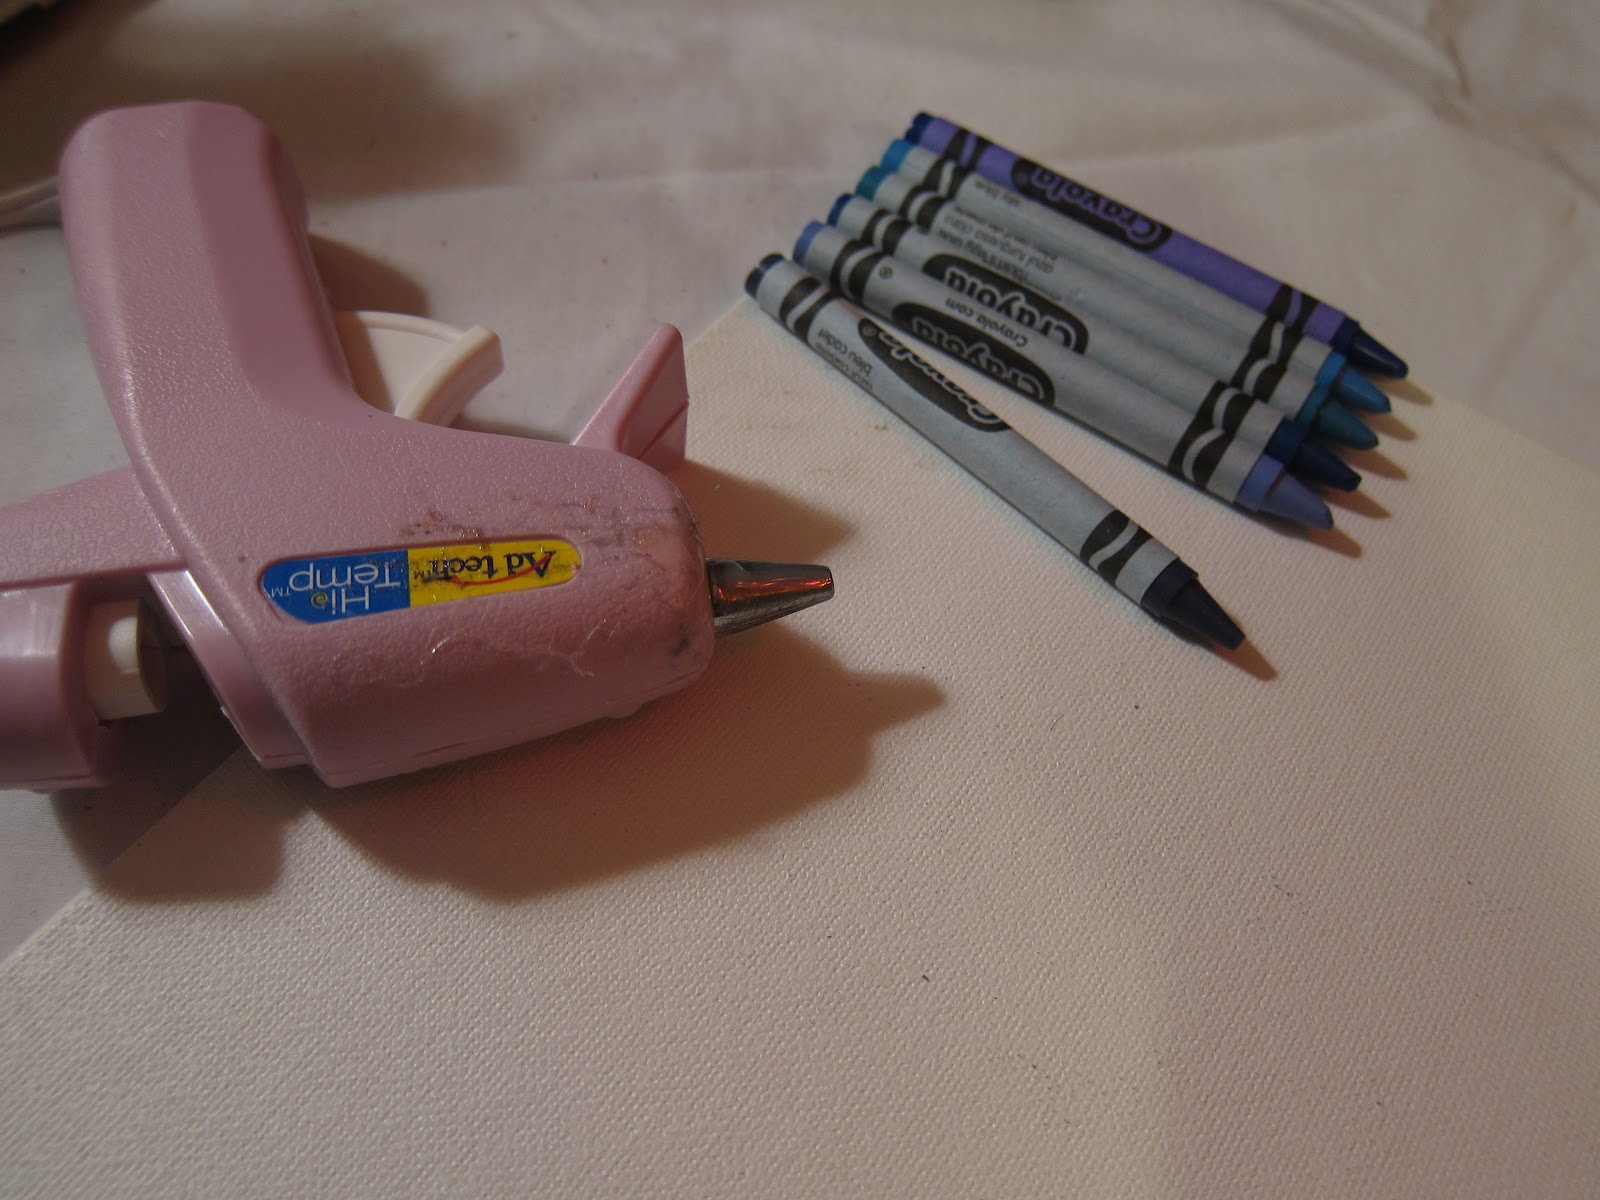
3) Now glue each individual crayon down onto the canvas with your glue gun.
4) This is the fun part! Plug in your hair dryer (I would not recommend using the one you use daily unless you don't mind cleaning it off after the project, the melted crayons splatter!) Ok, hold the hair dryer about an inch from the top left end of the crayon in the corner. You have to hold it here for awhile until the crayon starts to melt and run, then you can use your hair dryer to push the melted wax wherever you'd like it to be on the canvas. You can melt all of them as much or as little as you like, I melted mine alot because it was so fun!
5) Let it dry, you're done!
Here are some other ideas from Crayola for melted crayon projects!...
Oh, and here is how mine turned out...

I really like it! It's colorful and fun and I have it hanging in my craft room :)
Are you going to make one? What color scheme are you going to use? You could even put it upside down! What do you think?
No comments:
Post a Comment